Maple Walnut Ice Cream
Rich, creamy ice cream with deep maple flavor and toasted walnut pieces. A classic American dessert that's elegant enough for company and simple enough for weeknight indulgence.
- Total time
- 30 min
- Servings
- 8
- Calories
- 485
- Protein
- 7g
Ingredients
8 items — tap to check off
Missing one? Custrd suggests a swap that works.
Open the appInstructions
Step 1
Toast the walnuts to deepen their flavor and make them crisp. Spread 1 cup of raw walnut halves on a rimmed baking sheet and place in a 350°F oven for 8-10 minutes, stirring once halfway through. You'll know they're done when the kitchen smells deeply nutty and the walnuts turn a shade darker — be careful not to let them burn, or they'll taste bitter. Remove from the oven and let cool for 5 minutes, then coarsely chop them into roughly 1/4-inch pieces. Set aside.
Step 2
Combine 2 cups of heavy cream and 1 cup of whole milk in a medium saucepan and set it over medium heat. Warm the mixture just until you see wisps of steam rising and it reaches about 170°F on an instant-read thermometer — you want it hot but not boiling. This step is crucial: heating the milk kills any bacteria and helps create a silkier final texture.
Step 3
While the cream heats, place 5 large egg yolks in a medium bowl and add 0.75 cup of pure maple syrup and 0.25 teaspoon of sea salt. Whisk vigorously for about 2-3 minutes until the mixture becomes pale, thick, and ribbon-like — this is called the 'ribbon stage.' You should be able to lift the whisk and see the mixture fall in a thick, slow ribbon that takes a moment to dissolve back into the bowl. This whisking incorporates air and helps prevent the custard from curdling when you add the hot cream.
Step 4
Very slowly pour the hot cream mixture into the egg and maple mixture while whisking constantly. Add it in a thin stream (about the width of your pencil) and don't stop whisking — rushing this step will scramble the eggs, so take your time over the course of about a minute. The constant motion prevents the eggs from cooking and keeps everything silky smooth.
Step 5
Pour the entire custard mixture back into the saucepan and place it over medium-low heat. Cook while stirring constantly with a wooden spoon or rubber spatula, reaching into the corners of the pan. Watch the thermometer closely — you're looking for the custard to reach exactly 160°F, which will take about 5-8 minutes. The custard should coat the back of the spoon in a layer thick enough that when you run your finger across it, a trail remains.
Step 6
Remove the pan from heat and immediately stir in 1 tablespoon of unsalted butter and 1 teaspoon of vanilla extract. The residual heat will melt the butter completely. Set the pan aside to cool for 5 minutes, then pour the custard through a fine-mesh strainer into a clean bowl to catch any small bits of cooked egg — this gives you a perfectly silky texture.
Step 7
Press plastic wrap directly onto the surface of the custard to prevent a skin from forming, then refrigerate for at least 4 hours, or until completely chilled — the colder it is when it goes into the ice cream maker, the faster it will freeze and the smoother the final texture will be.
Step 8
Pour the chilled custard into your ice cream maker and churn according to the manufacturer's instructions — most machines take 20-25 minutes. The mixture should go from liquid to soft-serve consistency with a pale, creamy appearance. During the last minute of churning, add the chopped toasted walnuts so they're evenly distributed without being broken down.
Step 9
Transfer the soft-serve ice cream to a freezer-safe container and smooth the top with an offset spatula or the back of a spoon. Cover with plastic wrap pressed directly onto the surface, then place the lid on top. Freeze for at least 4 hours, or ideally overnight — this gives it time to firm up to a perfect scoopable consistency. It will keep in the freezer for up to 2 weeks.
Step 10
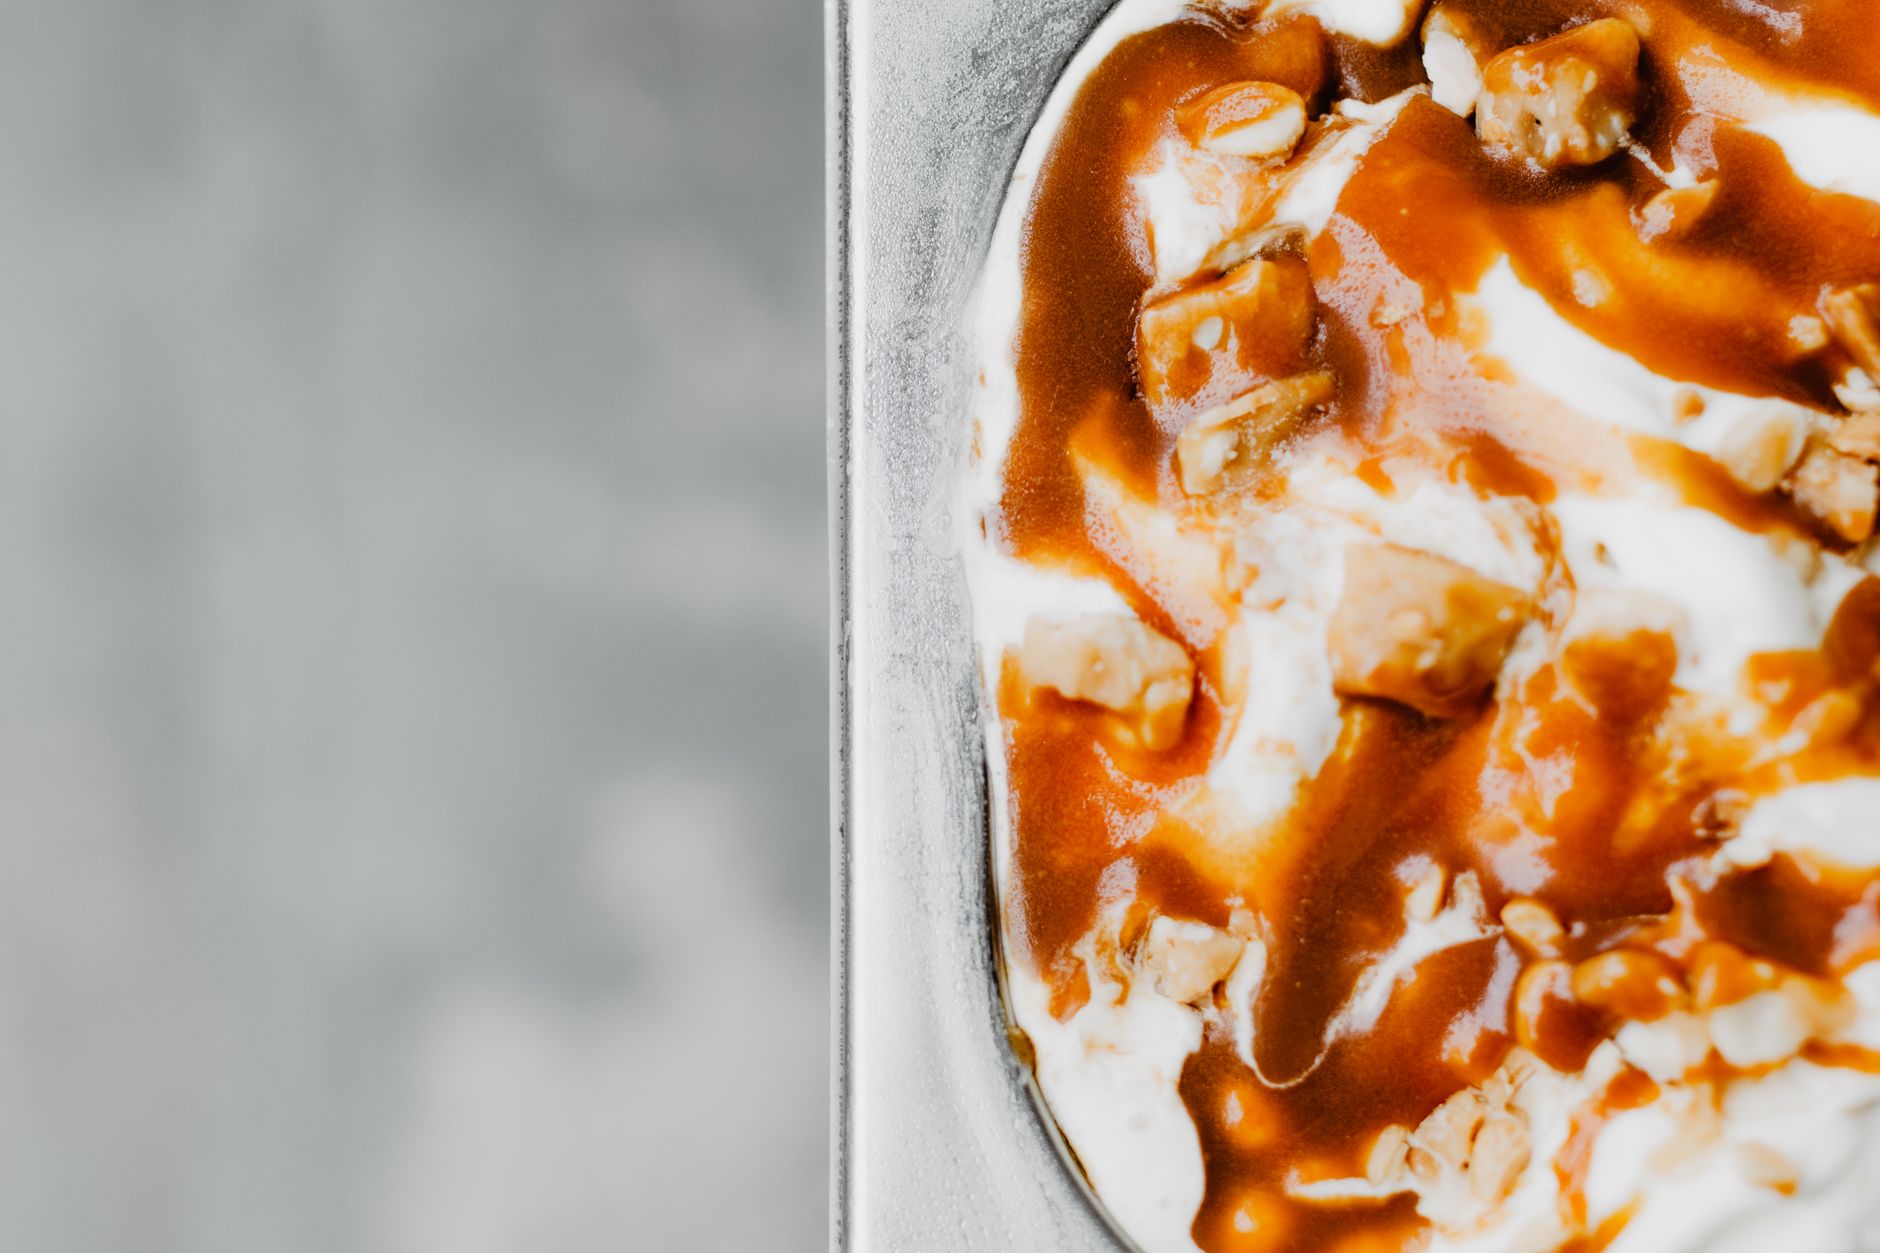
When ready to serve, remove the ice cream from the freezer and let it sit at room temperature for 2-3 minutes — this softens it just enough to scoop easily without melting. Use a hot ice cream scoop (run it under hot water and wipe dry between scoops) and pile into bowls or sugar cones. The walnut pieces should be visible throughout, with a rich maple flavor in every spoonful.
Tools you’ll need
- rimmed baking sheet
- instant-read thermometer
- medium saucepan
- medium bowl
- whisk
- wooden spoon or rubber spatula
- fine-mesh strainer
- plastic wrap
- ice cream maker
- freezer-safe container
- offset spatula
- ice cream scoop
Cook smarter
Get matched recipes for what’s in your fridge
Custrd is an iPhone and Android app that finds real recipes from the ingredients you already have. No more grocery-list aspirations. Try it free for 7 days.