Mexican Beef and Cheese Masa Cups
Crispy-edged masa cups filled with seasoned ground beef and topped with melted cheese and jalapeño. A handheld Mexican street food that's crispy outside, tender inside.
- Total time
- 35 min
- Servings
- 4
- Calories
- 520
- Protein
- 28g
Ingredients
13 items — tap to check off
Missing one? Custrd suggests a swap that works.
Open the appInstructions
Step 1
In a medium bowl, combine 2 cups of masa harina and 0.5 teaspoon of salt. Gradually add 1.25 cups of warm water, stirring with a fork until a soft, pliable dough forms — it should feel like Play-Doh, neither sticky nor dry. Let it rest for 10 minutes so the masa absorbs the water evenly.
Step 2
While the masa rests, finely dice half a small yellow onion into 1/8-inch pieces. Peel and mince 2 garlic cloves. Set aside on a cutting board.
Step 3
Slice 1 fresh jalapeño into thin rings, removing seeds if you prefer less heat. Set aside.
Step 4
Set a 10-inch skillet over medium-high heat. Once hot, add 1 pound of ground beef directly to the pan — do not break it up immediately. Let it sit undisturbed for 2 minutes to develop a light crust on the bottom. This builds flavor instead of steaming the meat.
Step 5
Break the beef into small, 1/4-inch crumbles using a wooden spoon, stirring constantly, until no pink remains, about 4-5 minutes. You should hear a consistent sizzle and smell toasted meat.
Step 6
Add the diced onion and minced garlic to the beef. Stir constantly for 1 minute until fragrant and the onion begins to soften — you're looking for that sharp onion smell to mellow slightly.
Step 7
Sprinkle 0.75 teaspoon of cumin and 0.5 teaspoon of chili powder over the meat. Stir well for 30 seconds to bloom the spices — they should release a warm, earthy aroma.
Step 8
Pour in 0.25 cup of low-sodium beef broth and season with 0.5 teaspoon of salt and black pepper. Reduce heat to low and simmer, stirring occasionally, until the liquid reduces by half and the beef is deeply flavored, about 5-7 minutes. The filling should be moist but not soupy — you want it to hold together when spooned into the masa cups.
Step 9
Divide the rested masa dough into 8 equal balls, each about 1.5 inches in diameter. Set them on a work surface covered with a damp kitchen towel to prevent drying.
Step 10
Take one masa ball and flatten it into a thin disc (about 1/8 inch thick and 3 inches wide) between two sheets of plastic wrap or in a tortilla press. Carefully peel off the top layer of plastic.
Step 11
Place 1.5 tablespoons of the warm beef filling in the center of the masa disc. Fold the edges up and over the filling to create a closed pouch, pinching the seams together firmly — the goal is to enclose the filling so it doesn't leak during frying. The shape doesn't need to be perfect; it will puff as it fries.
Step 12
Heat 3 tablespoons of vegetable oil in a deep 10-inch skillet over medium-high heat until it reaches 350°F on an instant-read thermometer, or until a tiny piece of masa sizzles and floats immediately when dropped in.
Step 13
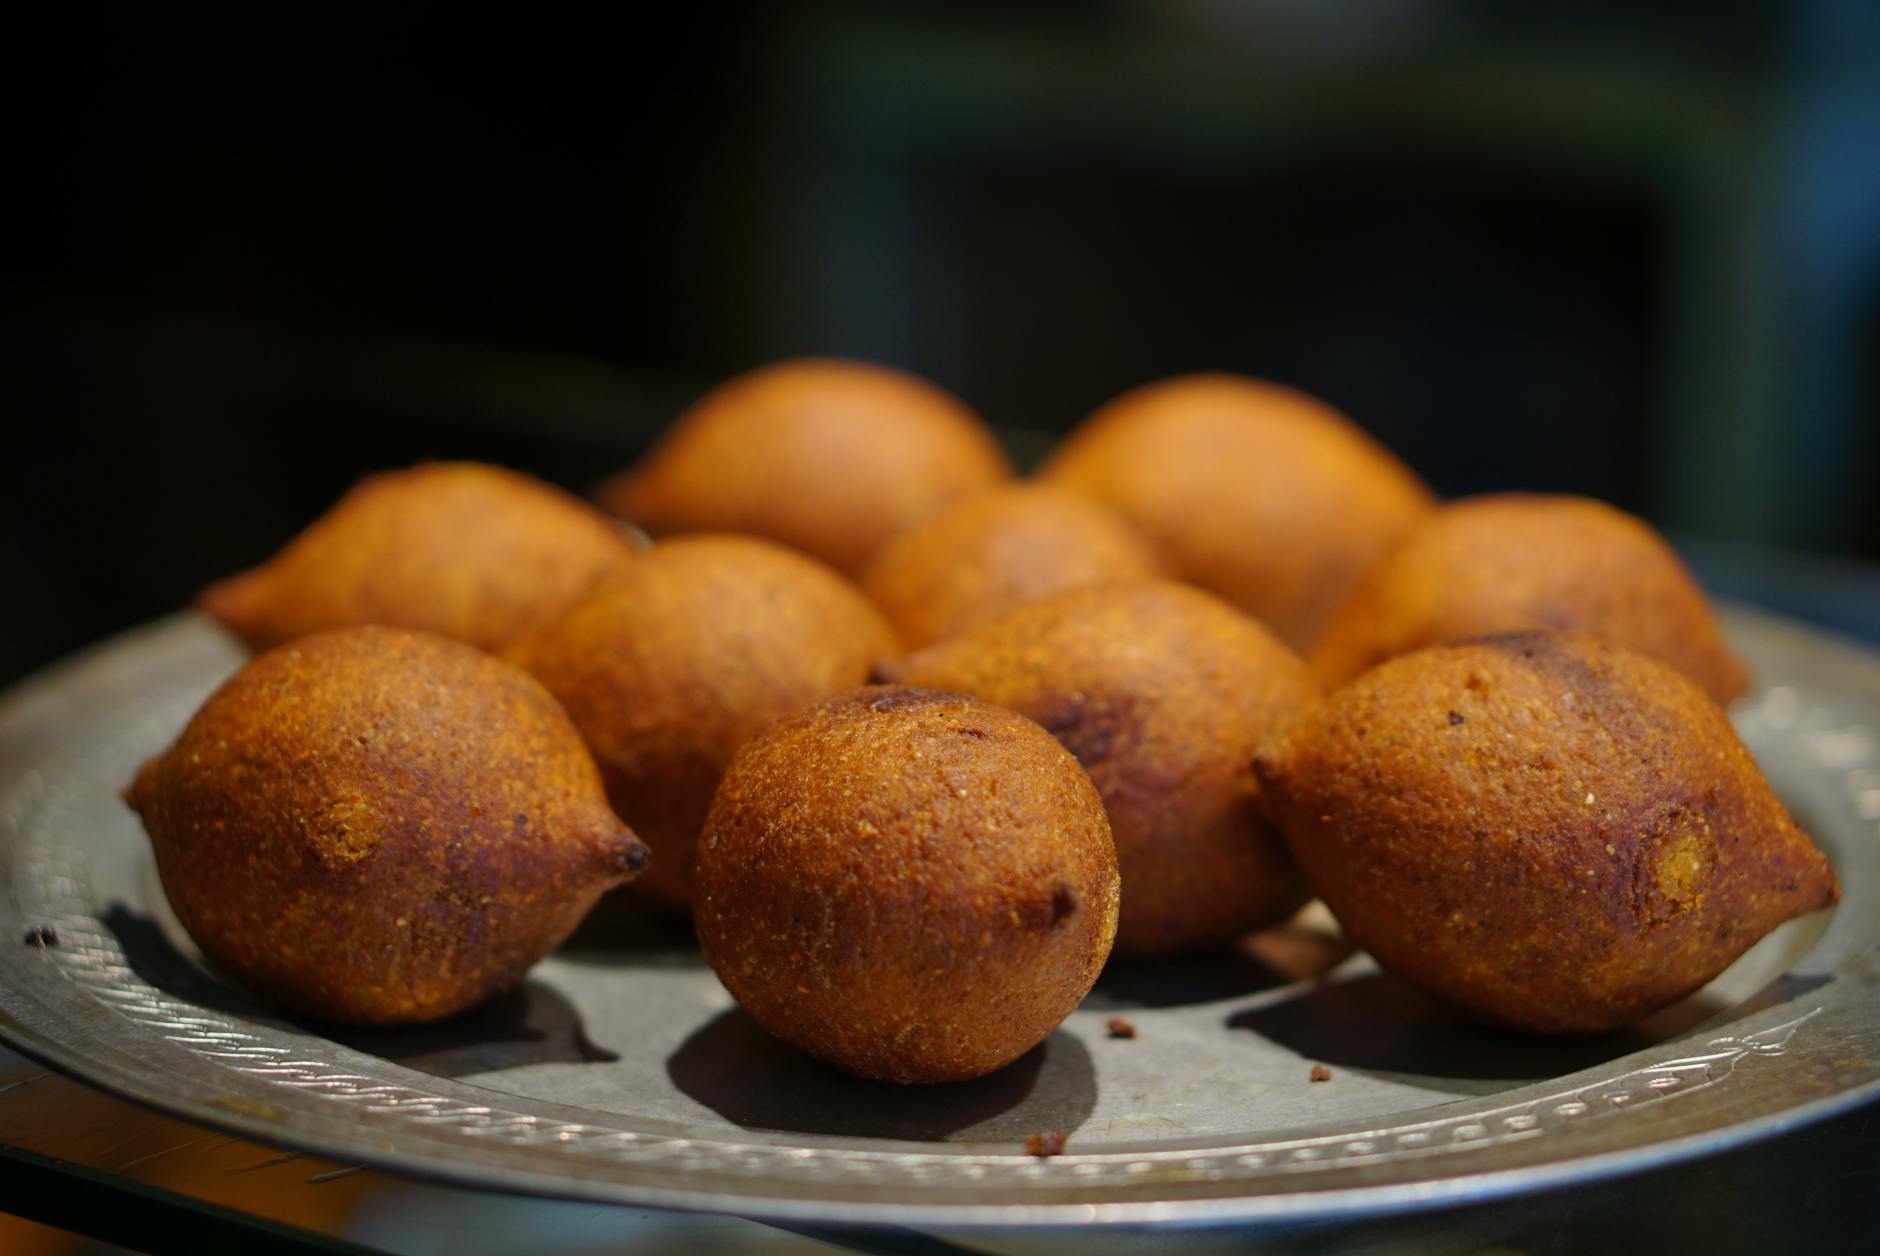
Carefully slide one volcán, seam-side down, into the hot oil. It should immediately sizzle and float. Fry for 2-3 minutes per side, turning once gently with tongs, until deep golden brown and crispy all over — the outside should feel firm when you tap it, and you should smell toasted corn.
Step 14
Transfer the fried volcán to a paper-towel-lined plate to drain. Repeat with remaining masa balls and filling, adjusting oil heat between batches if needed to maintain 350°F.
Step 15
While the volcanes are still hot, carefully cut a small slit or opening into the top of each one using a sharp knife — this will be your 'volcano crater' where the toppings go. Work gently so you don't crack the crispy shell.
Step 16
Immediately stuff each opening with a small handful of shredded Oaxaca or mozzarella cheese (about 2 tablespoons per volcán) — the residual heat will melt the cheese. Top with a couple of jalapeño slices.
Step 17
Serve the volcanes immediately while the masa is still warm and crispy, and the cheese is melted and stretchy. Eat by hand, tearing into the crispy exterior to reveal the tender, cheesy, beefy center.
Tools you’ll need
- medium mixing bowl
- fork
- cutting board
- chef's knife
- 10-inch skillet
- wooden spoon
- instant-read thermometer
- two sheets of plastic wrap or tortilla press
- kitchen tongs
- paper towels
- small sharp knife
Cook smarter
Get matched recipes for what’s in your fridge
Custrd is an iPhone and Android app that finds real recipes from the ingredients you already have. No more grocery-list aspirations. Try it free for 7 days.